
Tutorial 5: First step to CGing: Flatting...
Okay, so you've seen how I have scanned in my image and optimised it, ready for CGing. The next step is to add colours to all parts of the pictures, like I did on the last section with the skin.
I always tend to work on different layers for different colours (and not different layers for each individual detail). So the Skin is on one layer named "Skin", the Hair will be on another layer named "Hair" and so on. Some times you can use the same layer for different colours.
You might want to put the eyes and mouth on the same layer and call it "Eyes & Mouth". An advantage of using the same layer for more than one colour means PhotoShop will use up less of your computer's RAM and create large file sizes. However if different colours are on the same one layer, you wont be able to quickly edit for example the Eyes colour with out effecting the Mouth colour.
(Some people use Channels instead of Layers for CGing to save RAM usage. I won't be explaining that method on this tutorial)
The process of laying your initial colours down is called "Flatting" or "Laying Flats". To do this you can use a paintbrush and manually Paint brush in areas of colour, use the Polygon Lasso to select areas, then Flood Fill, or use the Magic wand, the Flood Fill.
If using Magic Wand to lay flats, select the Line Art layer and click the open spaces where u want the tool to make a selection, then Select -Modify -Expand. Expand the select by 4 pixels to fill out the selection so when you come to fill the colour in on the layer underneath, the colour fill goes all the way to the edge, and under the actual Line Art. If you don't do this, you'll be left with scummy looking areas where the flats join the line art. I tend to spend more time with the Polygon Lasso and then the Paint brush when laying flats, rather than always using the Magic Wand tool.
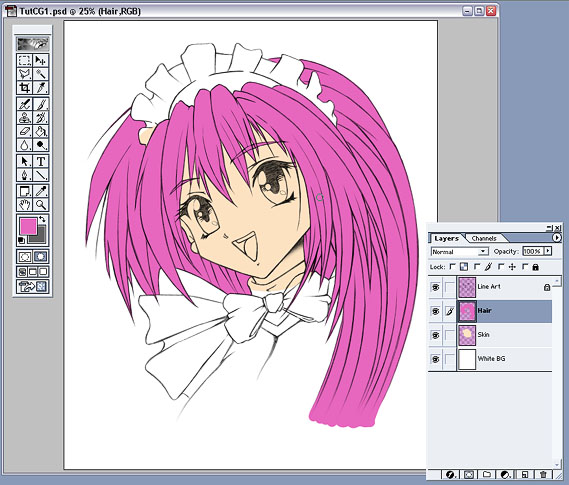
Fig 10: Laying Flats in layers
You can see I have created a new layer "Hair" and placed it above the Skin layer (see Fig 10.). Now that I've added the flat tone for the hair, the messy skin tone I added previously has been covered up by the hair layer on top. By laying your flats this way, you can save a lot of time by being messy with some of your layers- knowing that you'll be later adding another layer on top to conceal the mess and no one need ever know!
I also tend to have objects furthest away on a Layer at the bottom of the Layer tab and things closer towards the top.
After laying all flats, I locked each new colour layer so I can't later render anywhere other than the flatted area.
Choosing colours can be difficult, but gets easier with practice and after experimenting with what looks good and what doesn't. I decided to go for a mainly pinky-purple scheme to match the character's feminine nature. The good thing with CGing is you can always change the colours or hues later on without hassle.
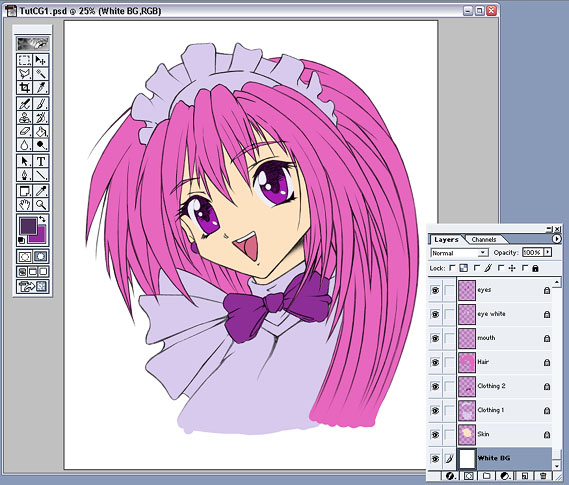
Fig 11: Laying Flats in layers 2
After you've done it several times, flatting can be a boring process but it's important to get good solid flats layed and once they're all down, you know the fun bit's about to begin! (see Fig 11.)
Summary:
-
Create new layers below the Line Art layer (for adding colours to)
-
Add different flat colours to each layer and name the layer approprietly
-
You can be messy at bottom layers as long as the mess is covered by the top layers
-
Lock each layer after finishing laying the flats
![]()
Focus on colouring skin and hair.