
Tutorial 4: Getting it ready to colour...
If you want to digitally colour your line work, there are loads of ways of to do this. I'll be explaining the two most common methods. You should be familiar with Layers before doing this.
Method One: This is what I do- In the Layers Tab, make a copy of the Layer named "Background" and call it "Line Art". To do this, drag the Background layer onto the 'New Layer' icon, which creates a copy of the Background on to a clean and editable layer (otherwise you wont be able to move the outlines to the top in the layers tab. Delete the Layer named Background. To Rename the "Copy of Background" Layer, hold ALT and double click the layer to bring up the edit layer box.
Go to the channels tab and click the circular channel selection icon (bottom left), then the image should be filled with dotted selection lines. Next press the delete key- this will get rid of all white areas (see Fig 7.). The purple checked background shows that it's transparent- You may see grey and white checks depending on your PhotoShop preference settings.
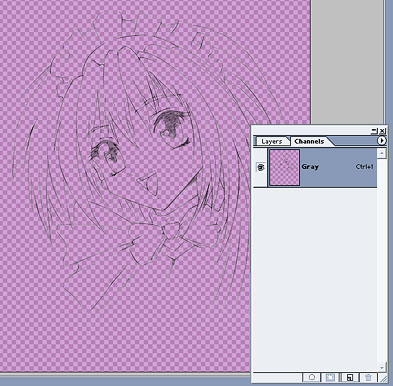
Fig 7: Delete white area
Deselect the channel selection, and then move back onto the layers tab. Check the 'Lock' box then, reapply black to the outlines by using the pencil tool with a large brush size (300+), going over the whole picture to restore black to the outlines. Now you have just the black line work on a layer or it's own, similar to the outline of a typical animation cel.
Adjust the image mode from Grayscale to Colour: -Image -Mode -RGB.
Create a new layer underneath your Line Art layer called "White BG" or "background" and fill this layer with a white solid fill. Now it will look as though you're back to where you started. Difference is, you can now paint in-between the Line Art and the White Background by creating a third Layer, placed in-between. I have called this "Skin". You can see by using the paint brush tool, I'm able to colour underneath the Line Art with out effecting the Line art itself! (see Fig 8.)
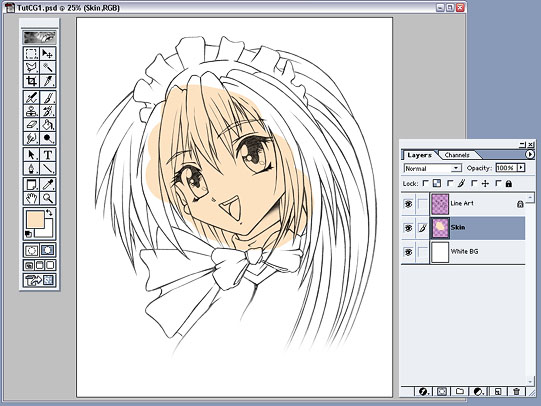
Fig 8: Colour under lineart on new layer
Method Two: Once again, in the Layers Tab, copy the Background layer, Rename the copied Layer, "Line Art" and delete the original Background layer.
Adjust the image mode from Grayscale to Colour: -Image -Mode -RGB.
While having the Line Art Layer selected, go to the layer drop down menu and select "Multiply". This will allow all white areas to be viewed as transparent. Create a Layer underneath the Line Art Layer (Layers can be placed by drag and dropping on the Layer tab) called "Skin". Start to paint in the skin and you'll see the colour is visible underneath the Line Art. (see Fig 9.)
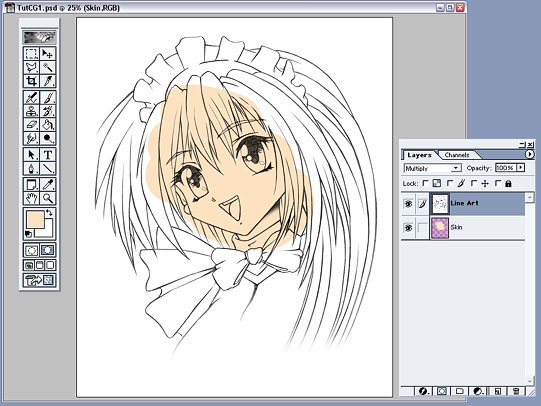
Fig 9: Set line art layer to multiply
Summary:
- Turn the background layer into an editable Line Art layer
- Change image mode to RGB
- Multiply the layer, then colour underneath
- OR Delete the while area of the outline layer by using the channel selection icon
- Then re-colour the black lines with the pencil tool while preserve transparency is checked
![]()
Laying solid flat colours or base tones.